

Have you ever bitten into a piece of chicken so perfectly crispy on the outside and juicy on the inside that you immediately wanted to make it again? That is exactly what happens when you cook cast iron skillet chicken thighs the right way. This recipe is a game-changer for anyone who loves bold flavors, minimal cleanup, and a dish that feels restaurant-quality without the restaurant price tag. Using a Cast Iron Skillet is one of the best decisions you can make in the kitchen, delivering unmatched heat retention and a gorgeous golden sear that no other pan can replicate. Whether you are cooking for a weeknight family dinner or entertaining guests, these crispy cast iron chicken thighs deliver on every front — flavor, convenience, and nutrition. The Cooking techniques used in this recipe are straightforward enough for beginners yet satisfying for experienced home cooks who want reliable, repeatable results every single time.
Ingredients
Gathering the right ingredients is the foundation of any great dish. Below is everything you will need to make the most flavorful cast iron skillet chicken thighs from scratch.
-
- 6 bone-in, skin-on chicken thighs — The bone adds depth of flavor and moisture during cooking; skin-on ensures that irresistible crispy exterior.
-
- 2 tablespoons olive oil — Helps the seasoning adhere and promotes even browning. Avocado oil works as a great high-heat alternative.
-
- 1 teaspoon garlic powder — Adds savory depth without burning the way fresh garlic can at high heat.
-
- 1 teaspoon smoked paprika — Delivers a subtle smokiness and beautiful color. Regular paprika or chipotle powder can be substituted.
-
- 1 teaspoon onion powder — Rounds out the seasoning blend with mild sweetness.
-
- 1 teaspoon dried Italian seasoning — A convenient blend of herbs that adds complexity. Fresh thyme and rosemary also work wonderfully.
-
- ½ teaspoon cayenne pepper (optional) — For a gentle kick of heat. Omit if cooking for kids or those sensitive to spice.
-
- 1½ teaspoons kosher salt — Enhances all other flavors. Sea salt is a fine substitute.
-
- ½ teaspoon black pepper — Freshly cracked is always preferred for brightness.
-
- 4 cloves fresh garlic, minced — Added later during cooking for aromatic richness.
-
- 2 tablespoons unsalted butter — Basted over the chicken near the end for luxurious flavor and golden color. Ghee works equally well.
-
- 1 tablespoon fresh lemon juice — Brightens the final dish and balances the richness of the butter.
-
- Fresh parsley or thyme for garnish — Optional but adds color and freshness.
Optional Add-Ins: Sliced mushrooms, baby potatoes, cherry tomatoes, or diced onions can be added to the skillet for a one-pan complete meal.
Preparation & Cooking Time
| Detail | Time / Info |
|---|---|
| Preparation Time | 10 minutes |
| Marinating Time (Optional) | 30 minutes to 4 hours |
| Cooking Time | 30–35 minutes |
| Total Time | 40–45 minutes (active) |
| Servings | 4–6 people |
| Difficulty Level | Easy to Intermediate |
This recipe is approachable for cooks of all levels. The most important thing to know before you begin is that patience is your best friend — allowing the chicken to sear without disturbing it is what creates that coveted crispy skin. Plan for about 10 minutes of active prep and roughly 30 minutes of hands-on cooking, which makes this an ideal weeknight dinner that never feels rushed.
Step-by-Step Instructions
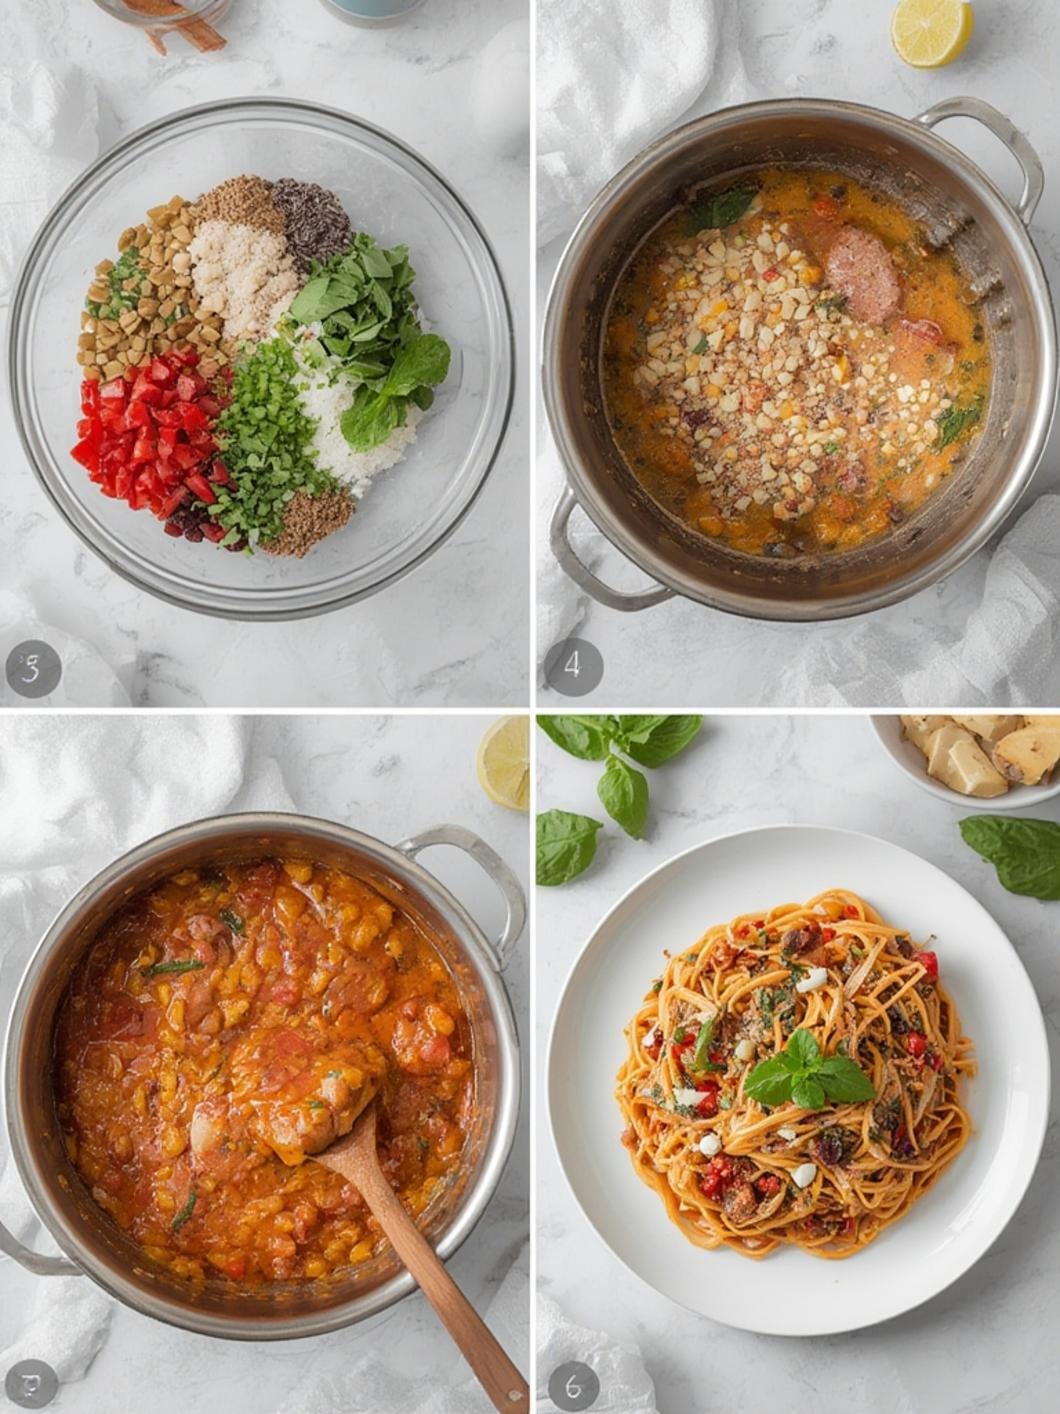
Step 1: Season the Chicken
Pat the chicken thighs completely dry using paper towels. This is a non-negotiable step — moisture is the enemy of a crispy skin. In a small bowl, combine the garlic powder, smoked paprika, onion powder, Italian seasoning, cayenne pepper, salt, and black pepper. Drizzle olive oil over both sides of each chicken thigh, then generously coat them with the seasoning blend. Massage the spices into the meat and under the skin if possible. For the deepest flavor, let the seasoned chicken rest uncovered in the refrigerator for at least 30 minutes or up to 4 hours.
Step 2: Preheat the Skillet
Place your Cast Iron Skillet over medium-high heat and allow it to preheat for 3–4 minutes. A properly preheated skillet is critical — it should be hot enough that a drop of water instantly evaporates on contact. Add the olive oil and swirl to coat the bottom evenly. You should see a faint shimmer rising from the oil when it is ready.
Step 3: Sear the Chicken — Skin Side Down
Place the chicken thighs skin side down into the skillet in a single layer without overlapping. Do not move them once they are placed down. Allow them to sear undisturbed for 10–12 minutes over medium-high heat. You will hear a satisfying sizzle and see the edges turn golden. Resist the urge to check or move the chicken — this is where the magic crust develops. The chicken will naturally release from the pan when it is ready to be flipped.
Step 4: Flip and Add Aromatics
Carefully flip each thigh using tongs. Reduce the heat to medium. Add the minced garlic to the pan around the chicken pieces and stir gently to prevent burning. Cook the chicken on the flesh side for another 8–10 minutes. The internal temperature should reach 165°F (74°C) when tested with a meat thermometer in the thickest part, away from the bone.
Step 5: Butter Basting Finish
Add the butter to the pan and let it melt. Tilt the skillet slightly and use a spoon to continuously baste the chicken thighs with the buttery pan drippings for 1–2 minutes. This step adds incredible richness and a deep golden-brown finish. Squeeze fresh lemon juice over the top just before removing from the heat. The Cooking techniques used here — dry searing followed by butter basting — are the exact methods professional chefs rely on to build layers of flavor and achieve that steakhouse-quality finish at home.
Step 6: Rest and Serve
Transfer the chicken to a plate and allow it to rest for 5 minutes before serving. Resting lets the juices redistribute throughout the meat, ensuring every bite is moist and flavorful. Drizzle any remaining pan juices over the top and garnish with fresh parsley or thyme.
Nutrition & Health Benefits
Cast iron skillet chicken thighs are not just delicious — they are a genuinely nutritious meal choice that fits a variety of dietary lifestyles.
| Nutrient | Per Serving (1 Chicken Thigh) |
|---|---|
| Calories | Approximately 320–380 kcal |
| Protein | 28–32g |
| Total Fat | 22–26g |
| Saturated Fat | 6–8g |
| Carbohydrates | 1–2g |
| Fiber | 0g |
| Sodium | 480–520mg |
| Iron | Approximately 1.2mg (naturally boosted by cast iron cooking) |
| Vitamin B6 | High |
| Zinc | Moderate |
Health Benefits:
-
- High-Protein: Each serving provides nearly 30 grams of lean protein, making this ideal for muscle repair and maintenance.
-
- Low-Carb & Keto-Friendly: With virtually zero carbohydrates, this dish fits seamlessly into ketogenic, paleo, and Whole30 dietary plans.
-
- Natural Iron Boost: Cooking in cast iron actually increases the iron content of your food, which is a genuine health advantage especially for those at risk of iron-deficiency anemia.
-
- Rich in B Vitamins: Chicken thighs are naturally high in Vitamin B6 and B12, which support brain function, energy metabolism, and cardiovascular health.
-
- Healthy Fats: The combination of olive oil and the naturally occurring fats in chicken skin provides monounsaturated fats that support heart health when consumed in moderation.
-
- Gluten-Free: This recipe is completely gluten-free as written, making it safe for those with celiac disease or gluten sensitivity.
Tips, Variations & Serving Suggestions
Pro Tips for Perfect Results:
-
- Always bring chicken to room temperature for 15–20 minutes before cooking. Cold chicken in a hot pan leads to uneven cooking.
-
- Do not crowd the pan. If you are cooking more than 6 thighs, work in batches to maintain proper heat distribution.
-
- Season generously — chicken thighs can handle bold seasoning, and erring on the side of more seasoning is almost always better.
Flavor Variations:
-
- Honey Garlic Version: Add 2 tablespoons of honey and 1 tablespoon of soy sauce after flipping for a sticky, caramelized glaze.
-
- Mediterranean Style: Add olives, sun-dried tomatoes, and a splash of white wine to the pan after searing.
-
- Cajun Spice: Replace the seasoning blend with a store-bought Cajun seasoning mix for a smoky, spicy Southern twist.
-
- Herb Butter: Mix softened butter with fresh rosemary, thyme, and lemon zest and use it for basting instead of plain butter.
Cooking Method Variations:
-
- Oven Finish: After searing skin side down for 8 minutes on the stovetop, transfer the entire skillet to a 425°F (220°C) oven and roast for 18–20 minutes for an even more hands-off approach.
-
- Air Fryer Option: Season as directed and cook at 400°F for 22–25 minutes, flipping halfway through for crispy results without the stovetop.
Serving Suggestions:
-
- Creamy mashed potatoes or roasted garlic cauliflower mash
-
- Steamed jasmine or basmati rice
-
- Roasted asparagus, green beans, or broccolini
-
- A crisp garden salad with lemon vinaigrette
-
- Crusty sourdough bread to soak up the pan drippings
-
- Beverage pairings: dry white wine like Chardonnay, sparkling water with lemon, or a light lager beer
Common Mistakes to Avoid
1. Not Drying the Chicken Before Cooking
This is the single biggest mistake. Moisture on the surface of the chicken creates steam, which prevents browning and results in a pale, soft skin instead of a crispy golden crust. Always pat dry thoroughly before seasoning.
2. Placing Chicken in a Cold or Under-Heated Pan
Cast iron needs adequate time to heat up. If you add the chicken before the pan is properly hot, it will stick and cook unevenly. Test by flicking a drop of water into the pan — it should evaporate instantly.
3. Moving the Chicken Too Early
Many beginners try to lift or shift the chicken before it is ready. The chicken will stick initially and then naturally release when the crust has fully formed. Trust the process and do not force it.
4. Cooking at Too High a Temperature Throughout
Starting at medium-high is correct for searing, but keeping the heat too high for the entire cooking time leads to burnt exteriors and undercooked interiors. Reduce to medium after flipping.
5. Skipping the Meat Thermometer
Visual cues alone are not reliable for food safety. Always verify the internal temperature reaches 165°F (74°C) to ensure the chicken is fully cooked. A reliable instant-read thermometer is a worthwhile kitchen investment.
6. Skipping the Resting Period
Cutting into chicken immediately after cooking causes all the flavorful juices to run out onto the cutting board rather than staying in the meat. A 5-minute rest makes a dramatic difference in juiciness.
7. Using Too Much Oil
Chicken thighs have a naturally high fat content that will render out during cooking. Using too much oil at the start can make the pan greasy and interfere with proper browning.
Storage & Reheating Tips
Refrigerator Storage:
Allow cooked chicken thighs to cool to room temperature (within 2 hours of cooking). Transfer to an airtight container or wrap tightly in aluminum foil. Properly stored, they will keep in the refrigerator for up to 4 days without any loss of quality.
Freezer Storage:
For longer storage, wrap individual chicken thighs in plastic wrap and place them in a zip-top freezer bag, removing as much air as possible. They can be frozen for up to 3 months. Label with the date for easy reference.
Reheating Methods:
-
- Oven (Best Method): Preheat to 375°F (190°C). Place chicken thighs on a baking sheet and cover loosely with foil. Heat for 15–20 minutes until warmed through. Remove foil for the last 3–5 minutes to re-crisp the skin.
-
- Air Fryer: Reheat at 375°F for 5–8 minutes for near-original crispiness.
-
- Stovetop: Reheat in a covered skillet over medium-low heat with a splash of chicken broth to prevent drying out.
-
- Microwave (Last Resort): Cover loosely and heat in 60-second intervals. Note that the skin will lose its crispiness, but the meat will remain juicy. Best for quick lunch situations.
Meal Prep Tip: Season and marinate chicken thighs up to 24 hours in advance. You can also cook a large batch and use the leftovers throughout the week in salads, wraps, rice bowls, or pasta dishes for efficient and delicious meal planning.
Conclusion
These crispy cast iron skillet chicken thighs are proof that the most satisfying meals do not require complicated techniques or expensive ingredients — just the right tools, quality seasoning, and a little patience. Whether you are making this for a quick weeknight dinner or a casual weekend gathering, this recipe delivers bold flavor, beautiful texture, and a genuinely nourishing meal every single time. The Cast Iron Skillet is truly the unsung hero of the home kitchen, and once you experience the results it produces, you will wonder how you ever cooked without one. Mastering the Cooking techniques outlined in this guide — from proper preheating and undisturbed searing to butter basting and proper resting — will elevate not just this dish but your entire approach to cooking proteins. Now it is your turn to fire up that skillet, fill your kitchen with the incredible aroma of golden-brown chicken, and enjoy every single crispy, juicy, buttery bite. We would love to hear how your chicken turns out — drop your experience in the comments below, share your photos on social media, and explore our other cast iron recipes for more inspiration!
Recipe Card
| Cast Iron Skillet Chicken Thighs — Recipe Card | |
|---|---|
| Recipe Name | Crispy Cast Iron Skillet Chicken Thighs |
| Cuisine | American / Comfort Food |
| Category | Main Course / Dinner |
| Prep Time | 10 minutes |
| Cook Time | 30–35 minutes |
| Total Time | 40–45 minutes |
| Servings | 4–6 |
| Difficulty | Easy to Intermediate |
| Calories Per Serving | ~320–380 kcal |
| Main Ingredients | Bone-in skin-on chicken thighs, olive oil, smoked paprika, garlic powder, butter, fresh garlic, lemon juice |
| Dietary Info | Gluten-Free, Low-Carb, Keto-Friendly, High-Protein |
| Equipment Needed | 12-inch Cast Iron Skillet, meat thermometer, tongs, basting spoon |
| Storage | Refrigerator: 4 days | Freezer: 3 months |
| Best Served With | Mashed potatoes, roasted vegetables, rice, or fresh salad |
FAQs
1. Can I use boneless, skinless chicken thighs instead?
Yes, you can use boneless, skinless chicken thighs. They will cook faster (about 5–7 minutes per side) and will not develop the same crispy skin, but they will still be incredibly flavorful. Reduce total cooking time and check for doneness at 165°F (74°C) with a thermometer.
2. Do I need to season my cast iron skillet before using it for this recipe?
If your skillet is already well-seasoned with regular use, you do not need to do anything special. If it is new or has recently been stripped, apply a thin layer of oil and bake it upside down in a 450°F oven for 1 hour before use. A well-seasoned skillet is key to both non-stick performance and flavor development.
3. Can I marinate the chicken overnight?
Absolutely. Marinating the seasoned chicken overnight in the refrigerator will deepen the flavor significantly. Simply combine the oil and dry rub, coat the chicken thoroughly, cover it, and refrigerate until you are ready to cook.
4. What if the chicken skin is not crispy enough?
If the skin is not as crispy as desired, make sure you patted the chicken completely dry before seasoning, the pan was fully preheated, and you did not move the chicken during the searing phase. You can also finish the chicken under the broiler for 2–3 minutes at the end of cooking for extra crunch.
5. Is this recipe suitable for meal prep?
Yes, it is excellent for meal prep. Cook a full batch on Sunday, refrigerate in airtight containers, and use the chicken in bowls, wraps, salads, or alongside different sides throughout the week for easy, protein-rich meals without daily cooking.
6. Can I add vegetables to the skillet while cooking the chicken?
Yes! Hardy vegetables like baby potatoes, thick-cut onions, and bell peppers can be added to the skillet around the chicken after the first flip. Softer vegetables like cherry tomatoes, zucchini, or spinach should be added in the last 5–8 minutes to prevent them from becoming mushy.
7. What is the safest internal temperature for cooked chicken?
The USDA recommends a minimum internal temperature of 165°F (74°C) for all poultry. Always check at the thickest part of the thigh, avoiding the bone, using a reliable instant-read meat thermometer for the most accurate reading and guaranteed food safety.
“`