
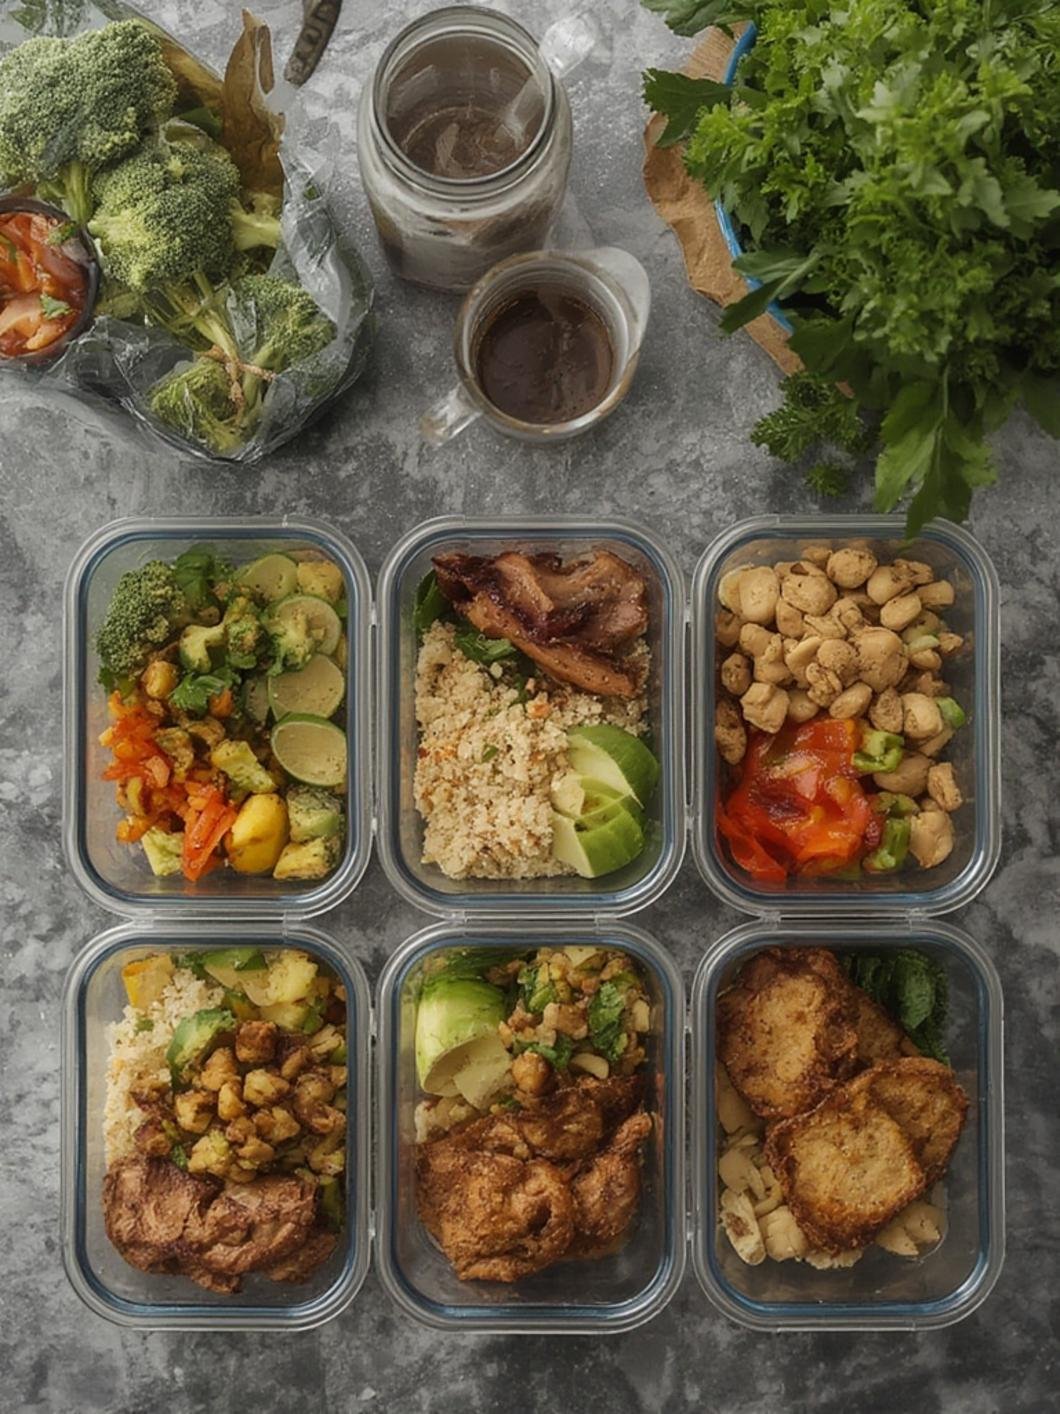
The Ultimate Cast Iron Skillet Chicken Thighs: Crispy, Juicy, and Packed with Flavor
—
Introduction
Have you ever bitten into a perfectly seared chicken thigh — golden, crackling skin on the outside and impossibly juicy meat on the inside — and wondered how restaurants always seem to nail it? The secret is simpler than you think. Cast iron skillet chicken thighs are one of the most rewarding meals you can make at home, delivering restaurant-quality results without the restaurant price tag. This dish is a game-changer for weeknight dinners, offering rich, smoky flavor, minimal cleanup, and a cooking method that locks in moisture like nothing else. With bone-in, skin-on chicken thighs seared in a Cast Iron Skillet, you get that unbeatable caramelized crust every single time. Whether you’re a seasoned home cook or a curious beginner, this recipe is absolutely worth mastering.
—
Ingredients
Here is everything you need to make the perfect cast iron skillet chicken thighs:
Main Ingredients:
– 4 bone-in, skin-on chicken thighs (approximately 2 lbs)
– 2 tablespoons olive oil or avocado oil
– 1 teaspoon kosher salt
– 1 teaspoon freshly ground black pepper
– 1 teaspoon garlic powder
– 1 teaspoon smoked paprika (adds depth and color)
– ½ teaspoon onion powder
– ½ teaspoon dried thyme or rosemary
Optional Ingredients & Substitutions:
– 2 tablespoons unsalted butter (for basting — adds richness)
– 4 garlic cloves, smashed (for aromatic infusion)
– Fresh herbs: thyme, rosemary, or parsley
– 1 lemon, halved (for a bright finish)
– Red pepper flakes (for heat)
Recommended Brands: Avocado oil by Primal Kitchen works exceptionally well for high-heat searing. For seasoning blends, McCormick Smoked Paprika is a reliable pantry staple.
—
Preparation & Cooking Time
| Detail | Time/Info |
|—|—|
| Prep Time | 10 minutes |
| Cook Time | 25–30 minutes |
| Total Time | 40 minutes |
| Servings | 4 people |
| Difficulty Level | Easy to Intermediate |
Before you begin, plan to pat your chicken thighs completely dry — this single step is what separates a soggy result from a spectacularly crispy one. You’ll also want to bring the chicken to room temperature for about 15 minutes before cooking, ensuring even heat distribution from edge to center.
—
Step-by-Step Instructions
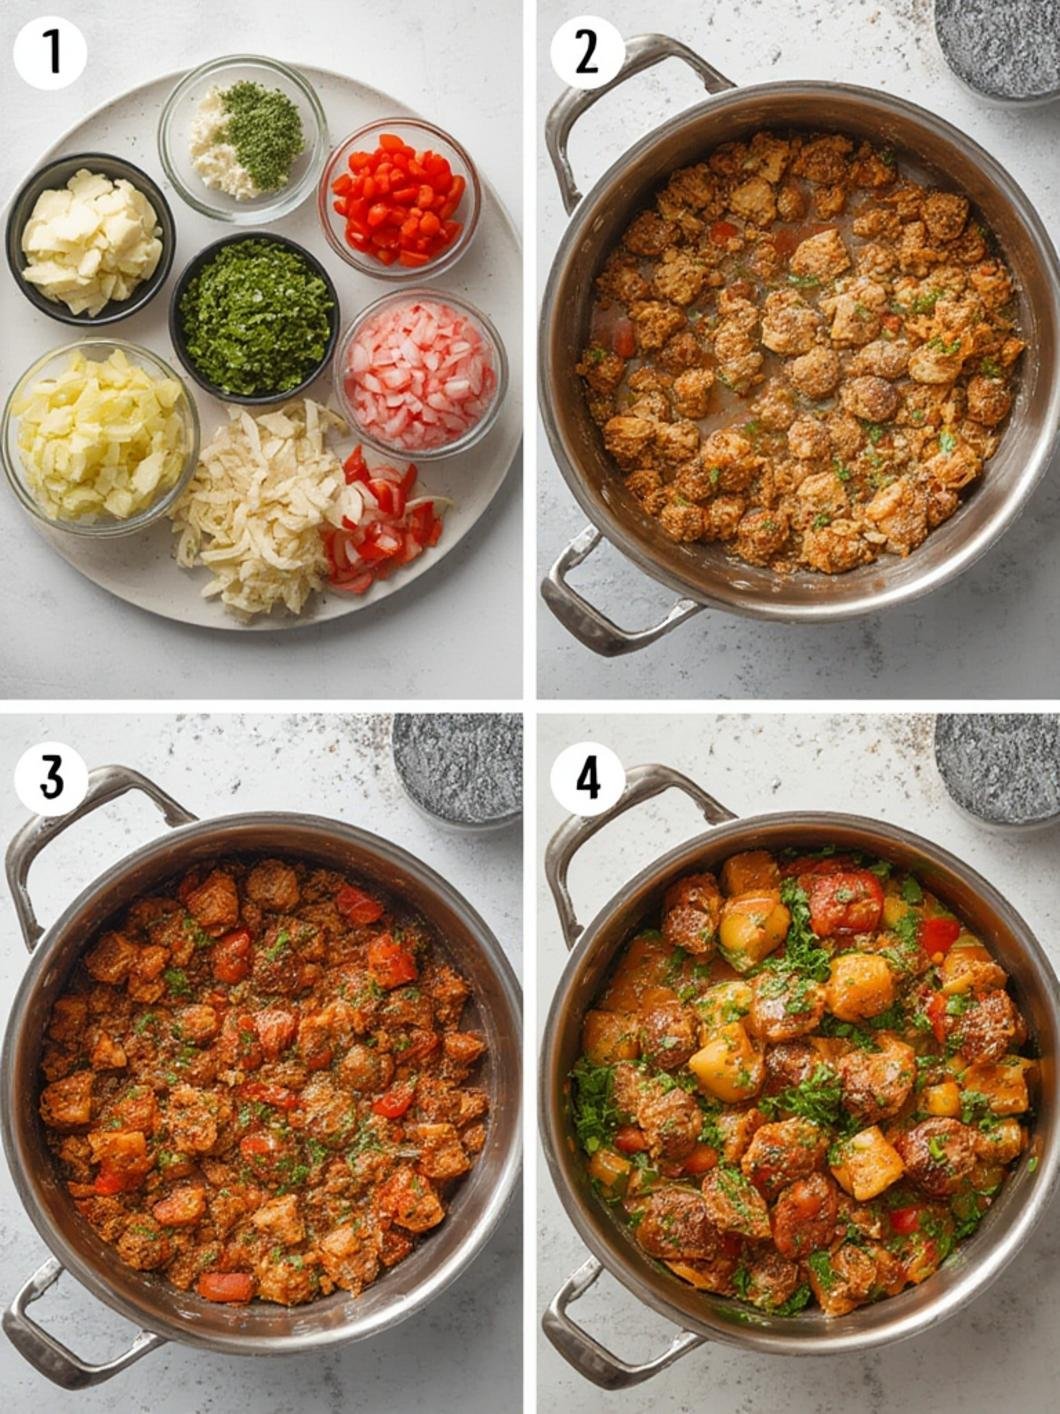
Follow these steps carefully to cook the most flavorful, crispy cast iron skillet chicken thighs you’ve ever tasted.
Step 1 — Dry and Season the Chicken
Pat all four chicken thighs dry with paper towels. Season generously on both sides with salt, pepper, garlic powder, smoked paprika, onion powder, and dried thyme. Allow the seasoned chicken to rest at room temperature for 10–15 minutes.
Step 2 — Preheat Your Skillet
Place your Cast Iron Skillet over medium-high heat for 2–3 minutes until it’s thoroughly hot. Add olive oil and swirl to coat. A properly preheated skillet is the cornerstone of a golden, non-sticking sear.
Step 3 — Sear Skin-Side Down
Lay the chicken thighs skin-side down into the hot skillet. Press gently with a spatula to ensure full contact. Do not move them. Cook undisturbed for 8–10 minutes until the skin releases naturally and turns deep golden brown.
Step 4 — Flip and Add Aromatics
Flip the thighs over. Add butter, smashed garlic cloves, and fresh thyme sprigs to the pan. Tilt the skillet slightly and baste the chicken repeatedly with the melted butter for 2 minutes. This is where Cooking techniques like basting truly elevate a simple dish into something extraordinary.
Step 5 — Finish in the Oven
Transfer the skillet to a preheated 400°F (200°C) oven. Roast for 12–15 minutes until the internal temperature reaches 165°F (74°C) at the thickest part. The oven finish ensures the meat cooks through without over-browning the skin.
Step 6 — Rest Before Serving
Remove from the oven, squeeze fresh lemon juice over the top, and let the chicken rest for 5 minutes before serving. Resting allows the juices to redistribute for maximum tenderness.
—
Nutrition & Health Benefits
Here is an approximate nutritional breakdown per serving (one chicken thigh):
| Nutrient | Amount |
|—|—|
| Calories | 310–350 kcal |
| Protein | 26–30g |
| Fat | 22g |
| Saturated Fat | 6g |
| Carbohydrates | 1–2g |
| Sodium | 480mg |
| Iron | 8% DV |
| Vitamin B6 | 25% DV |
Health Highlights:
– High protein content supports muscle repair and satiety
– Low carbohydrate profile makes this ideal for keto and low-carb diets
– Bone-in cooking preserves collagen and natural minerals
– Smoked paprika is rich in antioxidants and anti-inflammatory compounds
– Using avocado or olive oil provides heart-healthy monounsaturated fats
This recipe is naturally gluten-free, dairy-free when butter is omitted, and paleo-friendly — making it remarkably versatile across dietary preferences.
—
Tips, Variations & Serving Suggestions
Pro Tips:
– Always preheat your skillet before adding oil — this prevents sticking
– Use a meat thermometer for accuracy every time
– Bone-in thighs retain more flavor and moisture than boneless
Flavor Variations:
– Honey Garlic: Add 2 tablespoons honey and soy sauce in the last 5 minutes
– Cajun Style: Replace smoked paprika with a Cajun spice blend
– Mediterranean: Top with olives, cherry tomatoes, and feta before oven roasting
– Lemon Herb: Double the fresh herbs and finish with lemon zest
Alternative Cooking Methods:
– Air Fryer: Cook at 400°F for 20–22 minutes, flipping halfway
– Outdoor Grill: Sear over direct heat, then finish over indirect heat
– Slow Cooker: Cook on low for 6 hours with broth and aromatics
Serving Suggestions:
– Creamy mashed potatoes or roasted garlic cauliflower mash
– Sautéed green beans, broccolini, or asparagus
– Warm crusty bread to soak up the pan drippings
– Crisp garden salad with lemon vinaigrette
– A glass of Chardonnay or sparkling water with citrus
—
Common Mistakes to Avoid
1. Skipping the Drying Step
Wet chicken steams instead of sears. Always pat it completely dry before seasoning.
2. Moving the Chicken Too Early
If the chicken sticks when you try to flip it, it’s not ready. Leave it alone — it will release naturally when the crust forms.
3. Overcrowding the Pan
Adding too many pieces drops the pan temperature and causes steaming. Cook in batches if necessary.
4. Skipping the Oven Finish
Relying solely on stovetop heat can burn the exterior before the interior is cooked through. The oven transfer is non-negotiable for bone-in pieces.
5. Not Resting the Chicken
Cutting into chicken immediately after cooking releases all the juices onto your cutting board rather than into your mouth. Always rest for at least 5 minutes.
6. Using a Cold Skillet
Starting with a cold pan guarantees pale, rubbery skin. Preheat thoroughly every time.
—
Storage & Reheating Tips
Refrigerator Storage:
Store cooled leftover chicken thighs in an airtight container in the refrigerator for up to 4 days. Keep the skin separate from any sauce to maintain crispiness as long as possible.
Freezer Storage:
Wrap each thigh individually in plastic wrap, then place in a freezer-safe zip-lock bag. Freeze for up to 3 months. Label with the date for easy tracking.
Best Reheating Methods:
| Method | Instructions |
|—|—|
| Oven (Best) | 375°F for 15 minutes on a wire rack |
| Air Fryer | 375°F for 6–8 minutes |
| Stovetop | Medium heat with a splash of chicken broth, covered |
| Microwave (Last Resort) | 90 seconds covered with a damp paper towel |
Avoid reheating at high temperatures in the microwave, as this dries out the meat and makes the skin rubbery. The oven or air fryer will always restore the best texture.
—
Conclusion
There you have it — everything you need to cook perfect cast iron skillet chicken thighs from scratch. This recipe combines bold seasoning, strategic searing, and a simple oven finish to create a dish that genuinely rivals anything you’d order at a restaurant. With the right Cooking techniques and a quality Cast Iron Skillet, you’ll find yourself returning to this recipe again and again for weeknight dinners, meal prep sessions, and everything in between. Now it’s your turn — try it this week, personalize it with your favorite spices, and share your results in the comments below. We’d love to hear how it turned out for you!
—
FAQs
1. Can I use boneless chicken thighs instead of bone-in?
Absolutely. Boneless thighs cook faster — reduce the oven time to 8–10 minutes and check for an internal temperature of 165°F. The skin won’t be as thick, but the result is still delicious.
2. Do I need to marinate the chicken beforehand?
Marinating is optional. A 30-minute dry brine (seasoning with salt and leaving uncovered in the fridge) can enhance flavor and crispiness significantly, but the recipe works beautifully even without it.
3. What size cast iron skillet should I use for four chicken thighs?
A 10-inch or 12-inch skillet is ideal. A 10-inch fits four average-sized thighs snugly, while a 12-inch gives you a bit more breathing room and reduces the chance of overcrowding.
4. Can I make this recipe dairy-free?
Yes. Simply omit the butter and replace it with an additional tablespoon of olive oil or avocado oil. The result is slightly less rich but still deeply flavorful.
5. How do I know when the chicken is done without a thermometer?
Pierce the thickest part of the thigh near the bone — the juices should run completely clear, not pink. However, a digital meat thermometer reading 165°F is always the most reliable and safest method.