
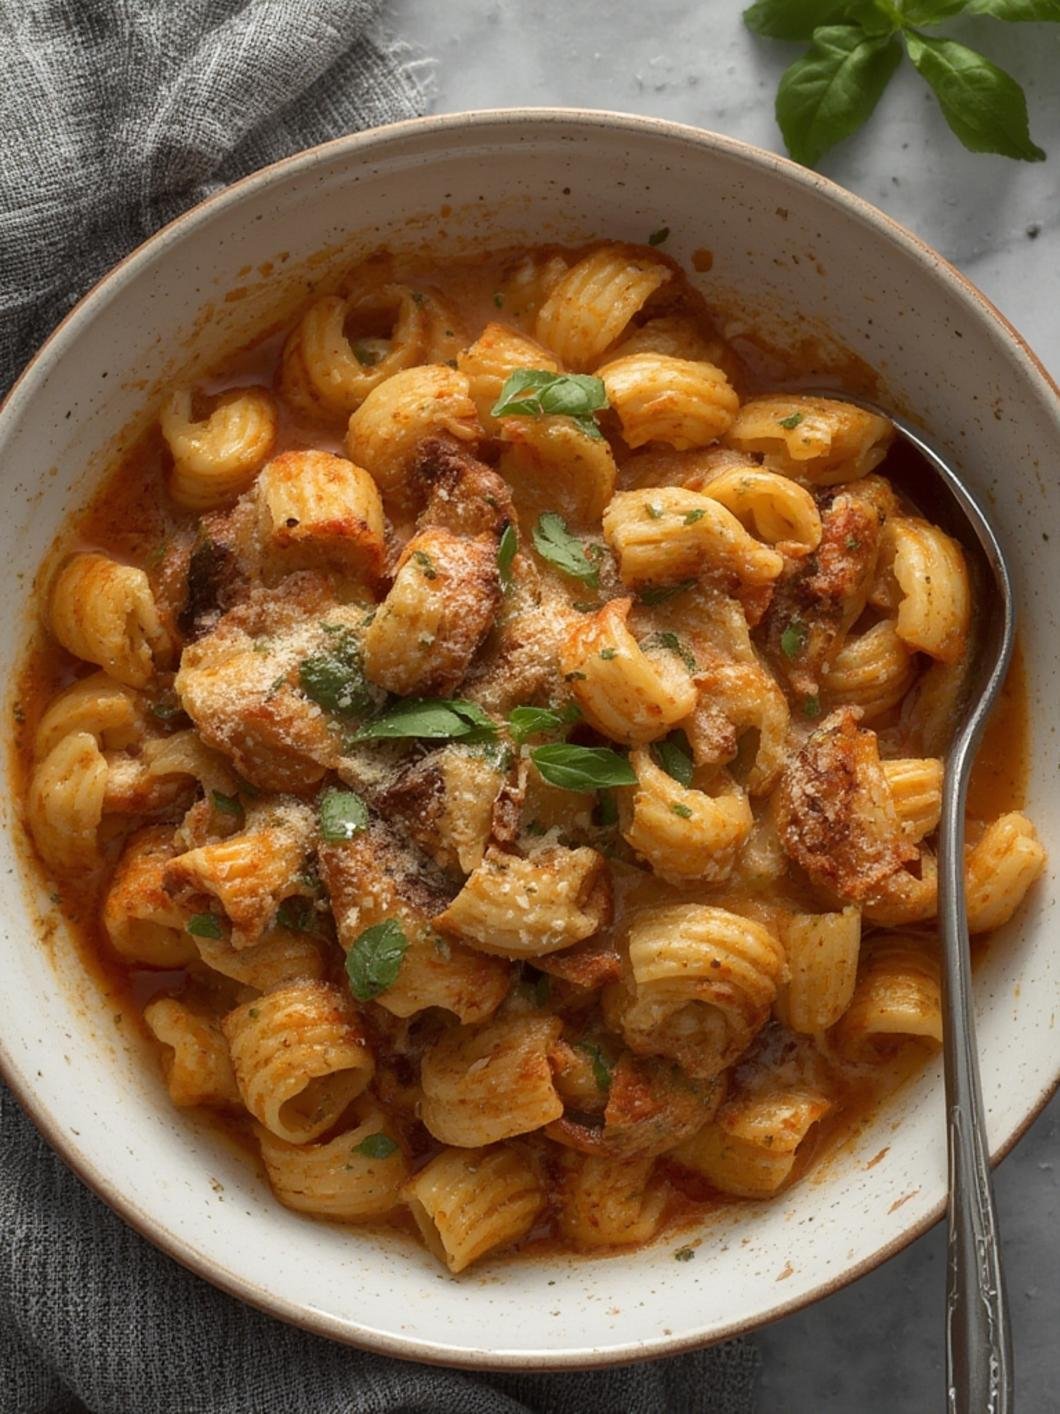
Pasta Recipes is going to change your kitchen game forever. The Cast Iron Skillet chicken thighs recipe delivers a restaurant-quality sear with a golden, crackling crust and incredibly juicy, tender meat inside — all from the comfort of your own home. You will love this recipe because it requires minimal ingredients, uses one pan for easy cleanup, and comes together in under 45 minutes. Whether you are cooking for your family on a busy weeknight or impressing guests at a dinner party, this dish always delivers. The bold, savory flavors from fresh herbs, garlic, and butter elevate simple chicken into something truly extraordinary. It is naturally gluten-free, high in protein, and incredibly satisfying without any complicated steps or fancy equipment. Once you try this method, you will never go back to baking chicken thighs in a conventional oven again.
Ingredients
Gathering the right ingredients is the first step toward making the most flavorful cast iron chicken thighs you have ever tasted. Here is everything you need:
-
- 6 bone-in, skin-on chicken thighs – The bone adds flavor and keeps the meat moist during cooking. Skin-on is essential for achieving that signature crispy crust.
-
- 2 tablespoons olive oil – Helps create an even sear and prevents sticking. Avocado oil is a great high-heat alternative.
-
- 2 tablespoons unsalted butter – Adds richness and promotes caramelization. Use ghee for a dairy-free option.
-
- 4 cloves garlic, minced – Fresh garlic provides bold, aromatic flavor. Garlic powder (½ teaspoon) can substitute in a pinch.
-
- 1 teaspoon smoked paprika – Gives a gorgeous color and a subtle smoky flavor. Regular paprika works fine too.
-
- 1 teaspoon onion powder – Adds depth without overpowering the other seasonings.
-
- 1 teaspoon kosher salt – Use sea salt or adjust to taste.
-
- ½ teaspoon black pepper – Freshly cracked is best for maximum flavor.
-
- ½ teaspoon dried thyme – Brings a herby, earthy note. Fresh thyme (1 teaspoon) is even better.
-
- ½ teaspoon dried rosemary – Pairs beautifully with chicken. Omit if you prefer a milder flavor.
-
- 1 tablespoon fresh lemon juice – Brightens the dish and balances the richness of the butter.
-
- Fresh parsley for garnish (optional) – Adds color and a fresh finish before serving.
-
- Red pepper flakes (optional) – Add ¼ teaspoon if you want a little heat.
Optional additions: Sliced mushrooms, cherry tomatoes, or baby spinach can be added to the pan during the last few minutes of cooking for a one-skillet meal. Brands like McCormick for spices and Kerrygold for butter are highly recommended for the best results.
Preparation & Cooking Time
| Detail | Time/Info |
|---|---|
| Preparation Time | 10 minutes |
| Cooking Time | 30–35 minutes |
| Total Time | 40–45 minutes |
| Servings | 4–6 servings |
| Difficulty Level | Easy to Intermediate |
| Cuisine | American / Comfort Food |
| Diet | Gluten-Free, High-Protein |
Before you start, make sure your chicken thighs are at room temperature by taking them out of the fridge about 15 minutes before cooking. This ensures even cooking throughout. Pat them completely dry with paper towels — this is the single most important step for crispy skin. The cooking process is split between stovetop searing and oven finishing, so preheat your oven to 425°F (220°C) before you begin. Beginners will find this recipe straightforward, but a few key techniques make the difference between good and absolutely incredible results.
Step-by-Step Instructions
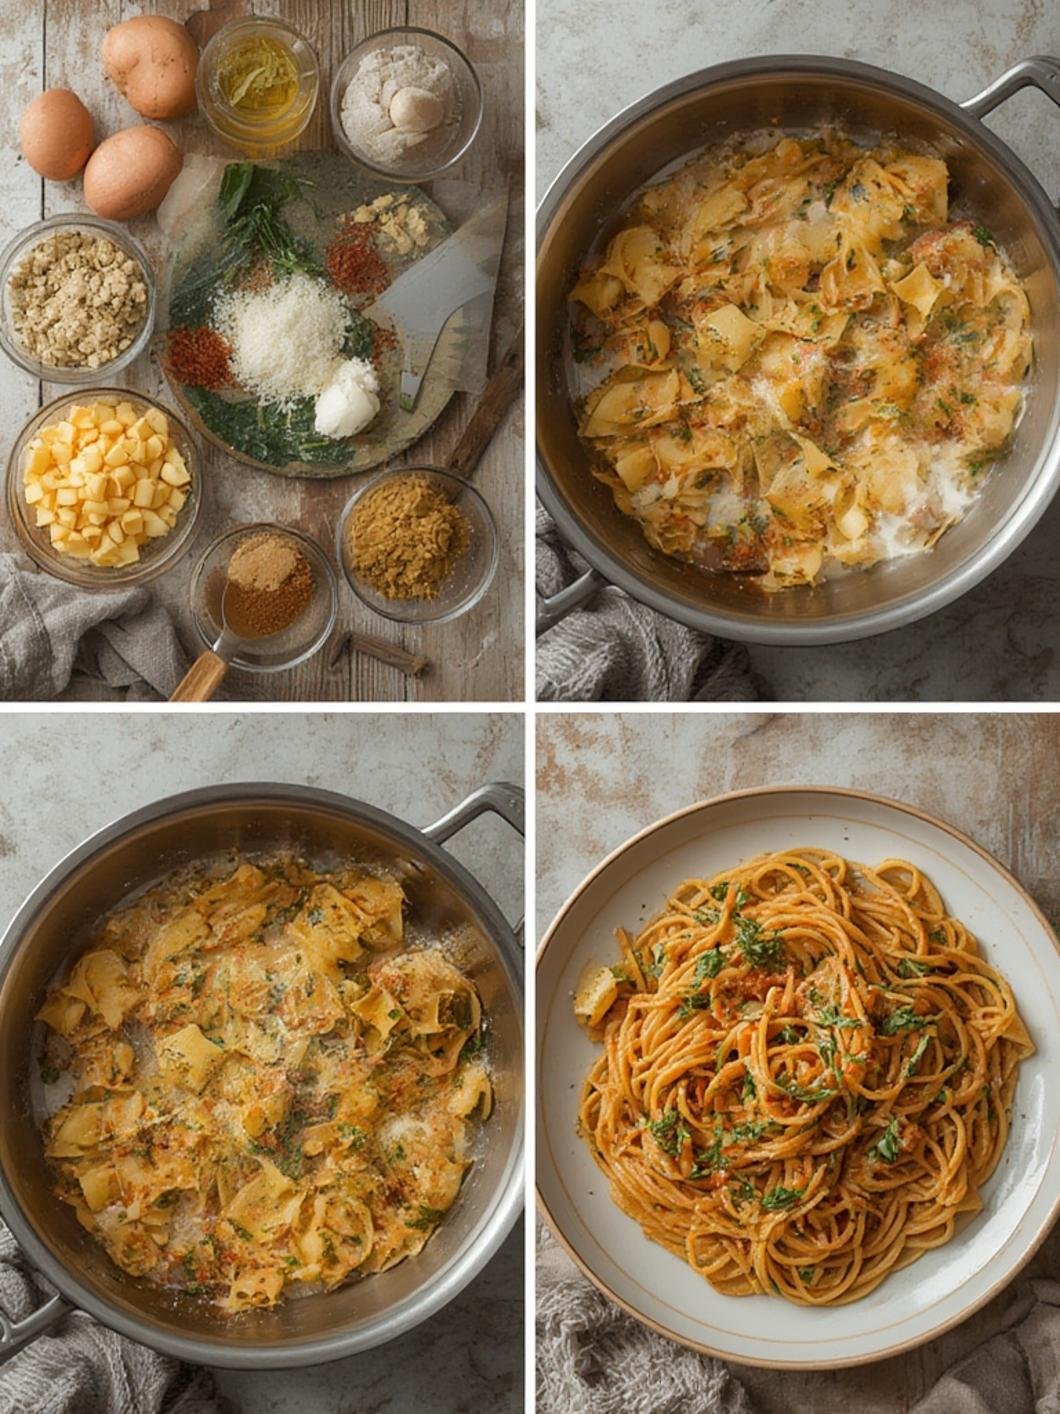
Step 1: Preheat and Prepare
Preheat your oven to 425°F (220°C). While the oven heats, pat your chicken thighs completely dry using paper towels on all sides. Moisture is the enemy of crispy skin, so do not skip this step. In a small bowl, combine smoked paprika, onion powder, kosher salt, black pepper, dried thyme, and dried rosemary. Mix well to create your seasoning blend.
Step 2: Season the Chicken
Rub the seasoning blend generously over the chicken thighs, making sure to coat both sides and get some seasoning under the skin for maximum flavor penetration. If you have extra time, let the seasoned chicken rest uncovered in the refrigerator for up to 24 hours — this dry brine technique deepens the flavor and further dries out the skin for an even crispier result.
Step 3: Heat the Skillet
Place your Cast Iron Skillet on the stovetop over medium-high heat and allow it to preheat for 2–3 minutes. A properly preheated skillet is critical because it creates that instant sear when the chicken hits the pan. Add the olive oil and swirl to coat the bottom of the pan. You should see a faint shimmer in the oil when it is ready — if it smokes immediately, lower the heat slightly.
Step 4: Sear the Chicken Skin-Side Down
Place the chicken thighs skin-side down into the hot skillet. Do not move them once placed — this is how you build that gorgeous golden crust. You will hear an immediate sizzle, which is exactly what you want. Sear for 8–10 minutes without touching or pressing down on the chicken. Resist the urge to peek or move them. The chicken will naturally release from the pan when the skin is properly seared.
Step 5: Flip and Add Aromatics
Flip the chicken thighs to the other side. Add the butter and minced garlic to the pan. As the butter melts, tilt the pan slightly and use a spoon to baste the chicken with the garlic butter repeatedly for about 2 minutes. This step adds incredible richness and ensures every inch of the chicken is coated with flavor. The Cooking techniques you use here — basting and pan management — are what separate a home cook from a professional chef.
Step 6: Transfer to the Oven
Squeeze the lemon juice over the chicken thighs and transfer the entire skillet directly into the preheated oven. Roast for 18–22 minutes, or until an instant-read thermometer inserted into the thickest part of the thigh reads 165°F (74°C). The skin should be deep golden brown and completely crispy by this point.
Step 7: Rest and Serve
Remove the skillet from the oven using heavy-duty oven mitts — remember, the handle will be extremely hot. Allow the chicken to rest in the pan for 5 minutes before serving. Resting allows the juices to redistribute throughout the meat, ensuring every bite is tender and moist. Garnish with fresh parsley and serve immediately for the best experience.
Nutrition & Health Benefits
Cast iron skillet chicken thighs are not just delicious — they are also a nutritional powerhouse. Here is an approximate nutritional breakdown per serving (1 large chicken thigh with skin):
| Nutrient | Amount per Serving |
|---|---|
| Calories | 320–380 kcal |
| Protein | 28–32g |
| Total Fat | 22–26g |
| Saturated Fat | 6–8g |
| Carbohydrates | 1–2g |
| Fiber | 0g |
| Sodium | 480–550mg |
| Iron | 8–12% DV |
| Vitamin B6 | 25% DV |
| Zinc | 15% DV |
Health Benefits:
Chicken thighs are an excellent source of complete protein, providing all nine essential amino acids necessary for muscle repair, immune function, and overall cellular health. Unlike chicken breasts, thighs contain slightly more fat, which contributes to greater satiety — meaning you feel fuller longer and are less likely to snack between meals. The olive oil in this recipe provides heart-healthy monounsaturated fats and antioxidant polyphenols linked to reduced inflammation. Garlic is rich in allicin, a compound studied for its antimicrobial and cardiovascular protective properties. Interestingly, cooking in a cast iron skillet can also slightly increase the iron content of your food, which is beneficial for individuals with iron-deficiency concerns. This recipe is naturally gluten-free, making it suitable for people with celiac disease or gluten sensitivity. It is also low in carbohydrates, making it compatible with ketogenic and paleo dietary approaches. The herbs used — thyme and rosemary — contain antioxidants that contribute to overall health and wellness.
Tips, Variations & Serving Suggestions
Pro Tips:
-
- Always dry your chicken thoroughly before seasoning. Moisture creates steam instead of a sear.
-
- Do not overcrowd the pan — cook in batches if necessary to maintain proper heat distribution.
-
- Season under the skin for deeper, more penetrating flavor.
-
- Let your skillet preheat fully before adding oil or chicken for the best sear.
Flavor Variations:
-
- Mediterranean Style: Add sun-dried tomatoes, olives, capers, and feta cheese in the last 10 minutes of oven time.
-
- Honey Garlic Glaze: Whisk 2 tablespoons honey with 1 tablespoon soy sauce and brush over the chicken in the last 5 minutes of roasting.
-
- Cajun Spiced: Replace the herb blend with Cajun seasoning for a bold, spicy Southern twist.
-
- Lemon Herb: Double the lemon juice and add fresh rosemary sprigs and lemon slices around the chicken before roasting.
Cooking Method Alternatives:
-
- Air Fryer: Sear skin-side down for 5 minutes, then air fry at 400°F for 18–20 minutes.
-
- Grill: Sear over direct heat, then move to indirect heat to finish cooking through.
-
- Slow Cooker: Sear first for crispy skin, then slow cook on low for 4–5 hours for fall-off-the-bone texture.
Serving Suggestions:
-
- Pair with creamy mashed potatoes or roasted garlic cauliflower mash for a low-carb option.
-
- Serve alongside roasted asparagus, green beans, or a simple arugula salad.
-
- Crusty sourdough bread is perfect for soaking up the pan drippings — do not waste a single drop.
-
- A glass of chilled Chardonnay or crisp Pinot Grigio pairs beautifully with the herb and butter flavors.
Common Mistakes to Avoid
Mistake 1: Skipping the Drying Step
Not patting the chicken dry is the number one reason for soggy, pale skin. Always use paper towels to remove all surface moisture before seasoning and cooking.
Mistake 2: Adding Chicken to a Cold Pan
Placing chicken in an unheated skillet causes sticking and uneven cooking. Always allow the pan to preheat properly before adding oil and then the chicken.
Mistake 3: Moving the Chicken Too Early
Beginners often try to flip the chicken before it is ready, tearing the skin. When properly seared, chicken releases naturally from cast iron. If it sticks, it simply needs more time.
Mistake 4: Not Using a Meat Thermometer
Guessing doneness leads to either undercooked unsafe chicken or dry, overcooked meat. Always use an instant-read thermometer and aim for exactly 165°F.
Mistake 5: Skipping the Resting Period
Cutting into chicken immediately after cooking causes all the juices to run out onto the cutting board instead of staying in the meat. Always rest for at least 5 minutes.
Mistake 6: Overcrowding the Pan
Too many pieces in the pan lower the temperature and cause steaming instead of searing. Cook in two batches if your skillet is not large enough.
Mistake 7: Neglecting Pan Maintenance
Never soak your cast iron in water or put it in the dishwasher. Clean it with a stiff brush, dry immediately, and apply a light coat of oil after each use to maintain its seasoning.
Storage & Reheating Tips
Refrigerator Storage:
Allow the cooked chicken thighs to cool completely at room temperature for no more than 2 hours before storing. Transfer to an airtight container or wrap individually in aluminum foil. Properly stored, they will keep in the refrigerator for up to 4 days.
Freezer Storage:
For longer storage, wrap each chicken thigh tightly in plastic wrap, then place in a resealable freezer bag. Remove as much air as possible before sealing. Frozen chicken thighs maintain best quality for up to 3 months. Label with the date for easy tracking.
Reheating for Best Results:
-
- Oven (Best Method): Place chicken on a wire rack over a baking sheet and reheat at 375°F for 12–15 minutes. This method preserves the crispy skin best.
-
- Stovetop: Heat a skillet over medium heat with a small amount of oil and reheat skin-side down for 4–5 minutes, then flip and heat through.
-
- Air Fryer: Reheat at 375°F for 6–8 minutes for skin that tastes nearly as good as freshly cooked.
-
- Microwave (Not Recommended): If you must use the microwave, cover loosely and heat in 30-second intervals to prevent drying out. The skin will lose its crispiness but the meat will still be flavorful.
Meal Prep Tip:
This recipe is excellent for weekly meal prep. Cook a full batch on Sunday, store in the refrigerator, and enjoy with different sides throughout the week to keep meals interesting and varied.
Conclusion
There is truly nothing quite like a perfectly cooked Cast Iron Skillet chicken thigh — golden, crackling skin on the outside and impossibly juicy, herb-infused meat on the inside. This recipe proves that incredible flavor does not require complicated techniques or expensive equipment. By mastering the Cooking techniques outlined in this guide — from proper drying and seasoning to stovetop searing and oven finishing — you now have everything you need to create a show-stopping dinner any night of the week. We hope you feel confident and excited to give this recipe a try. When you do, we would absolutely love to hear how it turns out! Leave a comment below sharing your experience, any variations you tried, or questions you have. If you enjoyed this recipe, be sure to explore our other cast iron recipes and one-pan dinner ideas for more delicious inspiration. Happy cooking!
FAQs
Q1: Can I use boneless, skinless chicken thighs instead?
Yes, you can substitute boneless, skinless thighs, but you will sacrifice the crispy skin that makes this dish so special. Reduce the cooking time by about 5–8 minutes and check for doneness earlier since they cook faster without the bone.
Q2: What size cast iron skillet works best for this recipe?
A 12-inch cast iron skillet is ideal for cooking 4–6 chicken thighs comfortably without overcrowding. If you only have a 10-inch skillet, cook in two batches for the best sear and avoid steaming.
Q3: Can I make this recipe dairy-free?
Absolutely. Simply replace the butter with additional olive oil or use dairy-free butter alternatives like Earth Balance or Country Crock Plant Butter. The flavor will be slightly different but still delicious.
Q4: How do I know when the chicken skin is ready to flip?
The best indicator is that the chicken will release naturally from the pan without resistance. If you try to lift it and it sticks, it needs more time. Do not force it — patience is the key to perfect searing.
Q5: Can I add vegetables to the skillet while cooking?
Yes! Hardy vegetables like potatoes, carrots, and onions can be added around the chicken before it goes into the oven. More delicate vegetables like cherry tomatoes, asparagus, or zucchini should be added in the last 10 minutes to avoid overcooking.
Q6: Is this recipe suitable for meal prep?
This is one of the best meal prep recipes you can make. The chicken stores well for up to 4 days in the refrigerator and reheats beautifully in the oven or air fryer. It pairs with a wide variety of sides, making it easy to build different meals throughout the week.
Q7: Can I marinate the chicken thighs overnight?
Yes, marinating overnight significantly deepens the flavor. Use the dry rub method described in the recipe and let the seasoned chicken rest uncovered in the refrigerator for up to 24 hours. The uncovered rest also helps dry out the skin further, resulting in an even crispier crust.
Recipe Card
| Cast Iron Skillet Chicken Thighs – Recipe Card | |
|---|---|
| Recipe Name | Cast Iron Skillet Chicken Thighs |
| Cuisine | American / Comfort Food |
| Prep Time | 10 minutes |
| Cook Time | 30–35 minutes |
| Total Time | 40–45 minutes |
| Servings | 4–6 servings |
| Difficulty | Easy to Intermediate |
| Calories per Serving | 320–380 kcal |
| Main Ingredients | Bone-in chicken thighs, olive oil, butter, garlic, smoked paprika, herbs, lemon |
| Equipment Needed | 12-inch cast iron skillet, oven mitts, meat thermometer, paper towels |
| Dietary Info | Gluten-Free, High-Protein, Low-Carb, Keto-Friendly |
| Storage | Refrigerator: 4 days | Freezer: 3 months |
| Best Reheating Method | Oven at 375°F for 12–15 minutes or air fryer at 375°F for 6–8 minutes |
| Serving Suggestions | Mashed potatoes, roasted vegetables, crusty bread, arugula salad |
“`