
There’s something magical about the sound of crispy fried chickenthat first bite when your teeth sink through a shatteringly crunchy crust into impossibly juicy, flavorful meat. It’s the kind of meal that transforms an ordinary evening into a celebration.
I still remember my grandmother standing over a cast-iron skillet, the air filled with the scent of sizzling oil and warm spices. She never used a recipe, but every piece came out perfectly golden, with a crust that clung to the chicken like it was meant to be there. That’s the kind of fried chicken I’ve spent years trying to recreate.
After testing dozens of methods—some successful, others ending in greasy disappointments—I’ve finally developed the ultimate crispy fried chicken recipe. This isn’t just any fried chicken. It’s the kind that stays crunchy even after it cools, with a crust so craggy and crisp you’ll hear it from across the table.
And the best part? You don’t need a deep fryer or any fancy equipment. A heavy pot, a thermometer, and a little patience are all it takes to bring this Southern classic to your kitchen. Whether you’re cooking for a crowd or just craving comfort food done right, this recipe delivers every single time.
What Is Crispy Fried Chicken?
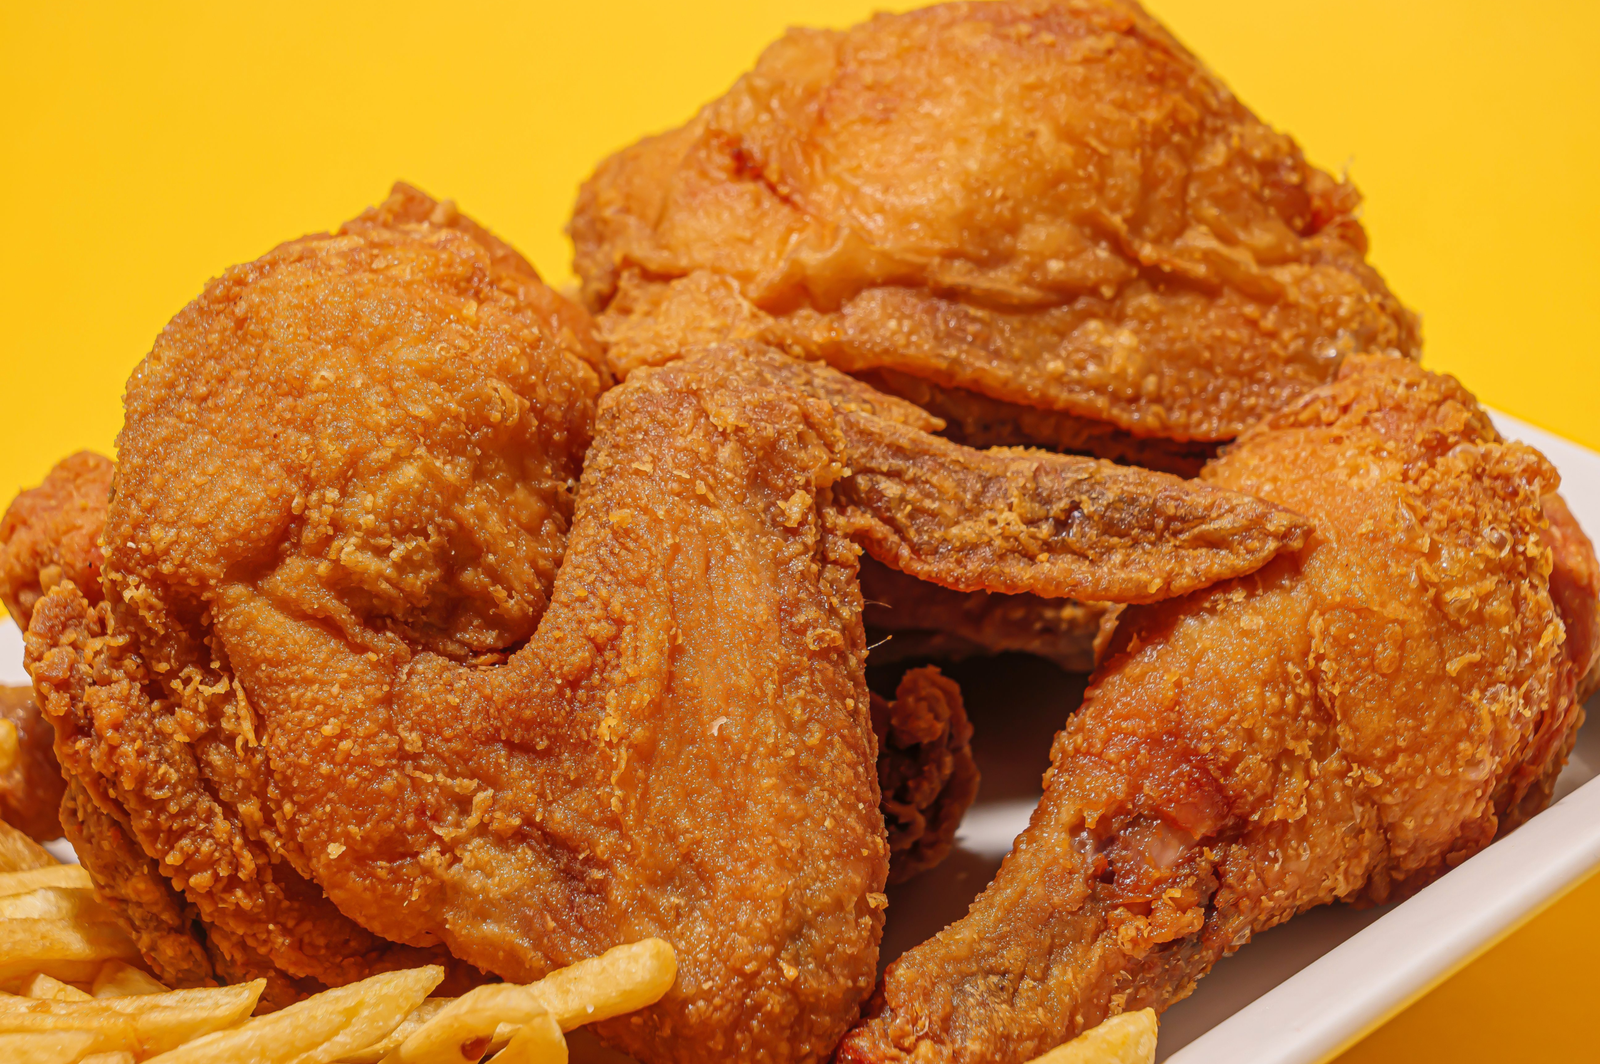
Crispy fried chicken is a beloved dish consisting of chicken pieces coated in a seasoned flour or batter mixture and deep-fried until golden brown and crunchy. The hallmark of great fried chicken is the contrast between the shatteringly crisp exterior and the moist, tender meat inside.
Origin & History
Fried chicken has deep roots in Southern American cuisine, with influences from Scottish and West African cooking traditions. Scottish immigrants brought their technique of frying chicken in fat, while West African culinary traditions contributed the art of seasoning and breading.
The dish became a cornerstone of Southern cooking, particularly celebrated for its ability to bring families together around the dinner table. Today, fried chicken is enjoyed worldwide, with countless regional variations from Korean-style double-fried chicken to Japanese karaage.
Flavor & Texture Profile
- Flavor: Savory, umami-rich, with warm notes of paprika, garlic, and black pepper
- Texture: A craggy, crunchy exterior that shatters on first bite, giving way to exceptionally juicy, tender meat
- Aroma: Inviting, with the irresistible scent of hot oil and warm spices wafting through the kitchen
Why People Love It
Fried chicken is the ultimate comfort food—it’s nostalgic, satisfying, and universally loved. The combination of textures and flavors hits every note: crispy, juicy, savory, and just a little bit indulgent. It’s the dish that turns any meal into a special occasion.
Why You’ll Love This Recipe
- Shatteringly Crispy Crust: The double-dredge technique creates layers of coating that fry up incredibly crunchy and stay that way.
- Juicy, Tender Meat: A buttermilk brine tenderizes the chicken and locks in moisture, ensuring every bite is succulent.
- Better Than Takeout: This homemade version rivals—and often surpasses—your favorite fast-food fried chicken.
- Family-Approved: Kid-friendly and crowd-pleasing, this recipe disappears fast at any gathering.
- Simple Ingredients: No obscure ingredients here—everything you need is likely already in your pantry.
- Make-Ahead Friendly: The chicken can be brined overnight, making dinner prep a breeze.
- Versatile: Serve it with everything from classic sides to creative dipping sauces.
Ingredients
For the Buttermilk Brine
- Buttermilk – 3 cups (full‑fat for best results)
- Kosher salt – ⅓ cup (dissolves easily, seasons evenly)
- Sugar – 2 tablespoons (balances the salt and adds subtle sweetness)
- Hot sauce – 2 tablespoons (optional, adds depth and a subtle kick)
For the Seasoned Flour Coating
- All‑purpose flour – 1½ cups (creates the base of the crispy coating)
- Cornstarch – ½ cup (the secret to extra crunch!)
- Paprika – 1 tablespoon (adds color and mild smoky flavor)
- Garlic powder – 1 tablespoon (savory depth)
- Onion powder – 1 tablespoon (enhances overall flavor)
- Black pepper – 1 teaspoon (freshly ground for best results)
- Cayenne pepper – ½ teaspoon (optional, for a hint of heat)
- Salt – 1 teaspoon (enhances all the flavors)
For the Chicken
- Chicken pieces – 2½–3 lbs (bone‑in, skin‑on thighs, drumsticks, and breasts)
For Frying
- Vegetable oil – enough for 1½ inches depth (peanut, canola, or sunflower oil recommended)
Premium Ingredient Options
- Flour: Use White Lily flour for an exceptionally light, crispy coating.
- Oil: Peanut oil offers the best flavor and a high smoke point (450°F).
- Buttermilk: Cultured buttermilk provides superior tang and tenderness.
Budget Alternatives
- Replace buttermilk with regular milk + 1 tablespoon lemon juice (let sit 5 minutes).
- Use vegetable or canola oil instead of peanut oil.
Chef Recommendations
“The combination of flour and cornstarch creates a shatteringly crispy crust.” For the best results, use a 3:1 ratio of flour to cornstarch and season your flour mixture generously—the coating should be flavorful enough to stand on its own.
Common Ingredient Mistakes
- Skipping the brine: This is non‑negotiable for juicy meat.
- Using boneless, skinless chicken: The skin adds flavor and helps the coating adhere.
- Not patting chicken dry: Excess moisture prevents the coating from sticking.
Ingredient Substitutions
- Gluten‑Free: Replace all‑purpose flour with a gluten‑free 1:1 flour blend; use gluten‑free cornstarch.
- Dairy‑Free: Replace buttermilk with unsweetened almond milk + 1 tablespoon lemon juice.
- Vegan: Use firm tofu or seitan; replace buttermilk with plant‑based milk + lemon juice; use egg replacer for binding.
- Keto: Use almond flour + pork rind crumbs for coating; fry in avocado oil.
- Low‑Carb: Substitute flour with a blend of almond flour and coconut flour.
- Low‑Sodium: Reduce salt by half and use low‑sodium hot sauce.
Equipment
Essential Tools
- Deep heavy pot or Dutch oven (holds oil and maintains temperature)
- Deep‑fry thermometer (critical for perfect results)
- Tongs (for safely turning and removing chicken)
- Wire rack set over a baking sheet (keeps chicken crispy while draining)
- Large shallow dishes (for dredging)
- Paper towels (for patting chicken dry)
Optional Tools
- Electric deep fryer (easier temperature control)
- Instant‑read thermometer (for checking internal temperature)
- Cast‑iron skillet (for authentic Southern‑style frying)
Professional Alternatives
- Commercial fryer (maintains consistent temperature for large batches)
- Propane fryer (ideal for outdoor frying and large quantities)
Budget Alternatives
- Use a heavy‑bottomed stockpot instead of a Dutch oven.
- Use a candy thermometer instead of a deep‑fry thermometer.
Step‑by‑Step Instructions
- Step 1: Brine the Chicken
In a large bowl or resealable plastic bag, combine the buttermilk, kosher salt, sugar, and hot sauce (if using). Add the chicken pieces, ensuring they’re fully submerged. Seal the bag or cover the bowl and refrigerate for at least 2 hours, but ideally 4 hours or overnight.
Visual cue: The buttermilk will look slightly curdled—this is normal and means the acid is working to tenderize the meat.
Beginner tip: If you’re short on time, even 1 hour of brining makes a difference. - Step 2: Prepare the Coating
In a large shallow dish, whisk together the flour, cornstarch, paprika, garlic powder, onion powder, black pepper, cayenne (if using), and salt.
Texture cue: The mixture should look uniform in color with flecks of spice throughout.
Pro tip: Reserve 2‑3 tablespoons of the flour mixture to add to the buttermilk brine for extra craggy crust. - Step 3: Remove Chicken from Brine
Remove the chicken pieces from the buttermilk brine and let the excess drip off. Pat each piece dry with paper towels. This is crucial—excess moisture prevents the coating from adhering properly.
Visual cue: The chicken should look tacky to the touch, not wet. - Step 4: Dredge the Chicken (First Coat)
Working with one piece at a time, dredge the chicken thoroughly in the seasoned flour mixture. Press the flour into the chicken to help it adhere. Shake off any excess flour.
Texture cue: The chicken should be evenly coated with a thin layer of flour.
Common mistake to avoid: Don’t skip pressing the flour in—this creates the foundation for a crispy crust. - Step 5: The Double Dredge (Second Coat)
This is where the magic happens. Dip the floured chicken back into the buttermilk for just a second (or use an egg wash), then dredge again in the flour mixture. Press the flour firmly into the chicken to create a thick, craggy coating.
Visual cue: The coating should look uneven and textured—this creates those sought‑after crispy bits.
Beginner tip: For an even crunchier crust, repeat the process one more time for a triple dredge. - Step 6: Rest the Coated Chicken
Place the coated chicken pieces on a wire rack and let them rest for 15–20 minutes. This allows the coating to set and adhere to the chicken.
Why this matters: Resting helps the coating stay on the chicken during frying instead of floating off into the oil. - Step 7: Heat the Oil
Pour enough oil into your heavy pot to reach a depth of about 1½ inches. Heat the oil to 350°F.
Temperature tip: Maintaining the oil at 335–350°F is key—this temperature allows the coating to crisp without burning before the chicken is fully cooked.
Heat guidance: If the oil is too hot, the outside burns while the inside remains raw. If it’s too cool, the chicken absorbs excess oil and becomes greasy. - Step 8: Fry the Chicken
Working in batches (don’t overcrowd the pot!), carefully add the chicken pieces to the hot oil, skin side down. Fry for 5–7 minutes per side, or until the coating is deep golden brown.
Visual cue: The oil should bubble vigorously around the chicken. The crust should turn a rich, golden‑brown color.
Aroma cue: You’ll smell the warm spices as the chicken fries—this is the smell of comfort food at its best. - Step 9: Finish in the Oven (Optional but Recommended)
Transfer the fried chicken to a wire rack set over a baking sheet. Place in a 350°F oven for 15–20 minutes, or until the internal temperature reaches 165°F for breasts and 175°F for thighs and drumsticks.
Why this step matters: Finishing in the oven ensures the chicken is fully cooked through without over‑browning the crust.
Timing guidance: Dark meat (thighs, drumsticks) takes longer to cook than white meat (breasts). - Step 10: Drain and Serve
Remove the chicken from the oven and let it rest on the wire rack for a few minutes.
Texture preservation tip: A wire rack is preferable to paper towels for draining—it prevents steam from softening the crust.
Pro tip: Keep cooked chicken warm in a 250°F oven while frying remaining batches, placing pieces on an elevated rack to prevent sogginess.
Expert Chef Tips
Restaurant Techniques for Home Cooks
- The Double‑Fry Method
For the crispiest results, fry the chicken twice. Fry once at 325°F to cook it through, let it rest so moisture can escape, then fry again at 350°F to crisp the crust. - Temperature Control is Everything
“Keeping the oil around 335°F is key; this temperature allows the coating to crisp without burning before the chicken is fully cooked.” - Bring Chicken to Room Temperature
Letting the chicken come closer to room temperature before frying promotes even cooking and helps maintain oil temperature. - Season the Meat, Not Just the Coating
“Season the chicken from the inside out” by brining or seasoning the meat directly before coating.
Flavor Balancing
- Salt: Season both the brine and the flour mixture for layered flavor.
- Acid: Buttermilk and hot sauce add tang that balances richness.
- Heat: Cayenne pepper adds a subtle kick without overwhelming.
- Umami: Garlic and onion powders provide savory depth.
Texture Improvement Tips
- Cornstarch is the Secret: A 3:1 ratio of flour to cornstarch creates the crispiest crust.
- Craggy Crust: Adding a few tablespoons of the wet brine to the flour mixture creates those coveted crispy bits.
- Rest Before Frying: Letting coated chicken rest allows the coating to set.
Cooking Science
The buttermilk brine works through acid tenderization—the lactic acid in buttermilk gently breaks down proteins in the chicken, resulting in exceptionally tender meat. The double‑dredge technique creates layers of coating that fry up into a shatteringly crisp crust.
Troubleshooting
- Coating falls off during frying – Pat chicken dry before dredging; let coated chicken rest for 15 minutes before frying; press flour firmly into the chicken.
- Chicken is greasy – Oil temperature was too low (should be 350°F); don’t overcrowd the pot; drain on a wire rack, not paper towels.
- Crust isn’t crispy – Add cornstarch to the flour mixture; double‑dredge the chicken; make sure oil is at correct temperature.
- Chicken is dry inside – Don’t overcook (use a thermometer); use bone‑in, skin‑on pieces; brine for at least 2 hours.
- Outside burns before inside cooks – Oil temperature is too high; reduce heat to 325‑335°F; finish chicken in the oven.
- Flavor is bland – Season both the brine and the flour mixture generously; add more spices to the coating.
- Coating is too thick and doughy – Shake off excess flour before frying; don’t press too much flour into the chicken.
Recipe Variations
Traditional Southern Version
Follow the recipe as written, using a classic blend of paprika, garlic powder, and black pepper. Serve with mashed potatoes and collard greens.
Healthy Version
Remove the skin before brining. Use an air fryer instead of deep frying (400°F for 15‑20 minutes). Replace half the flour with whole wheat flour.
Viral Version (Social Media Favorite)
Add crushed potato chips or panko breadcrumbs to the flour mixture. Drizzle with hot honey sauce immediately after frying. Garnish with fresh herbs for visual appeal.
Luxury Version
Use duck fat or a blend of canola oil and duck fat for frying. Brine in aged buttermilk with fresh herbs (thyme, rosemary). Serve with truffle‑infused honey or a champagne dipping sauce.
Budget Version
Use a whole chicken cut into pieces instead of pre‑cut parts. Fry in vegetable oil instead of peanut oil. Skip the hot sauce in the brine.
Seasonal Variation (Summer)
Add lemon zest to the flour mixture. Serve with a fresh herb dipping sauce (dill, parsley, chives). Pair with summer sides: corn on the cob, watermelon salad.
High‑Protein Variation
Use extra chicken breasts (the leanest cut). Add protein powder to the flour mixture (unflavored). Serve with a Greek yogurt‑based dipping sauce.
Serving Suggestions
Classic Southern Sides
Creamy mashed potatoes with gravy, collard greens, cornbread, macaroni and cheese, baked beans.
Drinks
Sweet iced tea (the ultimate Southern pairing), lemonade, sparkling water with lemon, crisp white wine (Sauvignon Blanc) or light beer.
Sauces & Condiments
Honey (classic), hot honey (trendy and delicious), ranch dressing, buttermilk dipping sauce, spicy mayo (mayonnaise + sriracha), barbecue sauce.
Garnishes
Fresh parsley (chopped), flaky sea salt (sprinkled immediately after frying), lemon wedges.
Presentation Ideas
Serve family‑style on a large platter. Arrange on a wooden cutting board for rustic charm. Create a “fried chicken bar” with various dipping sauces.
Holiday Serving Ideas
Thanksgiving: Serve alongside traditional turkey.
Fourth of July: Perfect for backyard barbecues.
Game Day: Cut into strips and serve with dipping sauces.
Storage & Reheating
Refrigeration
Store leftover fried chicken in an airtight container in the refrigerator for up to 3‑4 days.
Freezing
Freeze cooked, cooled chicken in a single layer on a baking sheet. Once frozen, transfer to a freezer bag. Freeze for up to 2‑3 months.
Reheating Methods (Best to Worst)
- Oven (Best): Place on a wire rack over a baking sheet; heat at 350°F for 10‑15 minutes. Result: crispy crust, heated through.
- Air Fryer: Heat at 375°F for 5‑7 minutes. Result: very good crispiness.
- Skillet: Heat a small amount of oil over medium heat; fry for 2‑3 minutes per side. Result: good crispiness.
- Microwave (Worst): Heat in 30‑second intervals. Result: soggy crust, rubbery meat.
Texture Preservation Tips
Always reheat on a wire rack, never directly on a baking sheet (prevents sogginess). Avoid covering the chicken while reheating—trapped steam softens the crust. If reheating from frozen, thaw in the refrigerator overnight first.
Meal Prep Tips
Brine the chicken up to 24 hours in advance. Coat the chicken and refrigerate (uncooked) for up to 4 hours before frying. Fry the chicken, cool completely, and reheat when ready to serve.
FAQ
How do you make crispy fried chicken?
To make crispy fried chicken, brine chicken in buttermilk for at least 2 hours, double‑dredge in a seasoned flour‑cornstarch mixture, and fry at 350°F until golden brown and the internal temperature reaches 165°F. The double‑dredge technique creates an extra‑crispy crust.
What is the secret to crispy fried chicken?
The secret to crispy fried chicken is a combination of three things: a buttermilk brine for moisture, a flour‑cornstarch coating for crunch (3:1 ratio), and maintaining the oil at the correct temperature (350°F).
What oil is best for frying chicken?
Peanut oil is the best choice for frying chicken due to its high smoke point (450°F) and neutral flavor. Canola, corn, and sunflower oils are also good alternatives.
How long should you marinate chicken in buttermilk?
Marinate chicken in buttermilk for at least 2 hours, but ideally 4 hours or overnight. The longer the chicken brines, the more tender and flavorful it becomes.
Why is my fried chicken not crispy?
Fried chicken may not be crispy if the oil temperature is too low (causes greasy, soft coating), the chicken wasn’t dried properly before coating, or you didn’t use enough cornstarch in the flour mixture.
How long does it take to fry chicken?
Frying time depends on the size of the pieces: chicken thighs and drumsticks take 12‑15 minutes, breasts take 18‑20 minutes, and wings take 8‑10 minutes. Always use a meat thermometer to ensure doneness.
What temperature should oil be for frying chicken?
The oil should be between 335°F and 350°F for frying chicken. This temperature allows the coating to crisp without burning before the chicken is fully cooked.
Can you make fried chicken in an air fryer?
Yes! Air fry chicken at 400°F for 15‑20 minutes. Remove the skin before air frying for best results.
How do you keep fried chicken crispy?
To keep fried chicken crispy, drain it on a wire rack instead of paper towels (prevents steam from softening the crust) and keep it warm in a 250°F oven on an elevated rack while frying remaining batches.
What is the double‑dredge method?
The double‑dredge method involves coating chicken in flour, dipping it back into the wet mixture (buttermilk or egg wash), and then coating it in flour a second time. This creates layers of coating that fry up incredibly crispy.
Can I use boneless chicken for fried chicken?
Yes, but bone‑in, skin‑on chicken provides more flavor and stays juicier during frying. If using boneless chicken, reduce cooking time and monitor internal temperature closely.
How do you know when fried chicken is done?
Fried chicken is done when the internal temperature reaches 165°F for breasts and 175°F for thighs and drumsticks. The juices should run clear, and the coating should be deep golden brown.
Can fried chicken be frozen?
Yes, fried chicken freezes well for up to 2‑3 months. Freeze in a single layer on a baking sheet, then transfer to a freezer bag. Reheat in the oven for best results.
What makes fried chicken Southern‑style?
Southern‑style fried chicken is characterized by a buttermilk brine, a well‑seasoned flour coating (with paprika, garlic, and onion powders), and frying in a cast‑iron skillet. It’s typically served with classic Southern sides.
How can I make fried chicken spicier?
Add cayenne pepper to the flour mixture, use a spicy hot sauce in the buttermilk brine, or sprinkle with Cajun seasoning before serving.
Nutrition (estimated per serving – 1 piece)
- Calories: 450‑550
- Protein: 28‑35g
- Carbohydrates: 25‑30g
- Fat: 25‑35g
- Fiber: 1‑2g
- Sugar: 2‑4g
- Sodium: 800‑1,200mg
Note: Nutrition values are estimates and may vary based on specific ingredients, portion sizes, and cooking methods.
Recipe Card
| Crispy Fried Chicken – Golden & Crunchy | |
| Cuisine | Southern American |
| Course | Main Course |
| Prep Time | 20 minutes |
| Cook Time | 25‑30 minutes |
| Total Time | 3 hours (including marinating) |
| Servings | 6 |
| Calories | ~450‑550 per serving |
| Author | [Your Name/Blog Name] |
Ingredients
For the Brine:
- 3 cups buttermilk
- ⅓ cup kosher salt
- 2 tablespoons sugar
- 2 tablespoons hot sauce (optional)
For the Coating:
- 1½ cups all‑purpose flour
- ½ cup cornstarch
- 1 tablespoon paprika
- 1 tablespoon garlic powder
- 1 tablespoon onion powder
- 1 teaspoon black pepper
- ½ teaspoon cayenne pepper (optional)
- 1 teaspoon salt
For the Chicken:
- 2½‑3 lbs bone‑in, skin‑on chicken pieces (thighs, drumsticks, breasts)
For Frying:
- Vegetable oil (peanut, canola, or sunflower)
Instructions
- Brine the chicken: Combine buttermilk, salt, sugar, and hot sauce in a bowl. Add chicken, ensure it’s submerged, and refrigerate for 2‑4 hours (or overnight).
- Prepare the coating: In a shallow dish, whisk together flour, cornstarch, paprika, garlic powder, onion powder, black pepper, cayenne, and salt.
- Remove and dry chicken: Take chicken from brine, let excess drip off, and pat dry with paper towels.
- First dredge: Coat each piece thoroughly in the flour mixture, pressing to adhere. Shake off excess.
- Double dredge: Dip chicken back into the brine (or an egg wash), then coat again in the flour mixture, pressing firmly.
- Rest: Place coated chicken on a wire rack and let rest for 15‑20 minutes.
- Heat oil: In a heavy pot, heat oil to 350°F.
- Fry: Working in batches, fry chicken 5‑7 minutes per side until golden brown.
- Finish: Transfer to a wire rack over a baking sheet and bake at 350°F for 15‑20 minutes, or until internal temperature reaches 165°F (breasts) or 175°F (dark meat).
- Serve: Let rest briefly, then serve warm.
Notes
- For the crispiest results, use a 3:1 ratio of flour to cornstarch.
- Maintain oil temperature at 335‑350°F throughout frying.
- Always drain fried chicken on a wire rack, not paper towels.
- Keep cooked chicken warm in a 250°F oven while frying remaining batches.
Nutrition (per serving)
Calories: 450‑550 | Protein: 28‑35g | Carbs: 25‑30g | Fat: 25‑35g | Fiber: 1‑2g | Sugar: 2‑4g | Sodium: 800‑1,200mg